
As the car is getting faster and faster along with the introduction of the grippy slick tires into the game, improvement of the car safety with a roll cage installation was the only wise way to go…and a lot more too.
The week after the last track day event in last December team went back to the drawing board to design and plan the following steps of the car. A six point bolt-in roll cage built by OMP ordered along with miscellaneous interior parts and then the team and the car allowed for some short winter holidays.


The first step in the car transformation started early January, when all the remaining parts of the stock interior removed in order to give space for the roll cage. After a couple hours of messy work only the sound deadening and underdash wiring – heater left in the car.
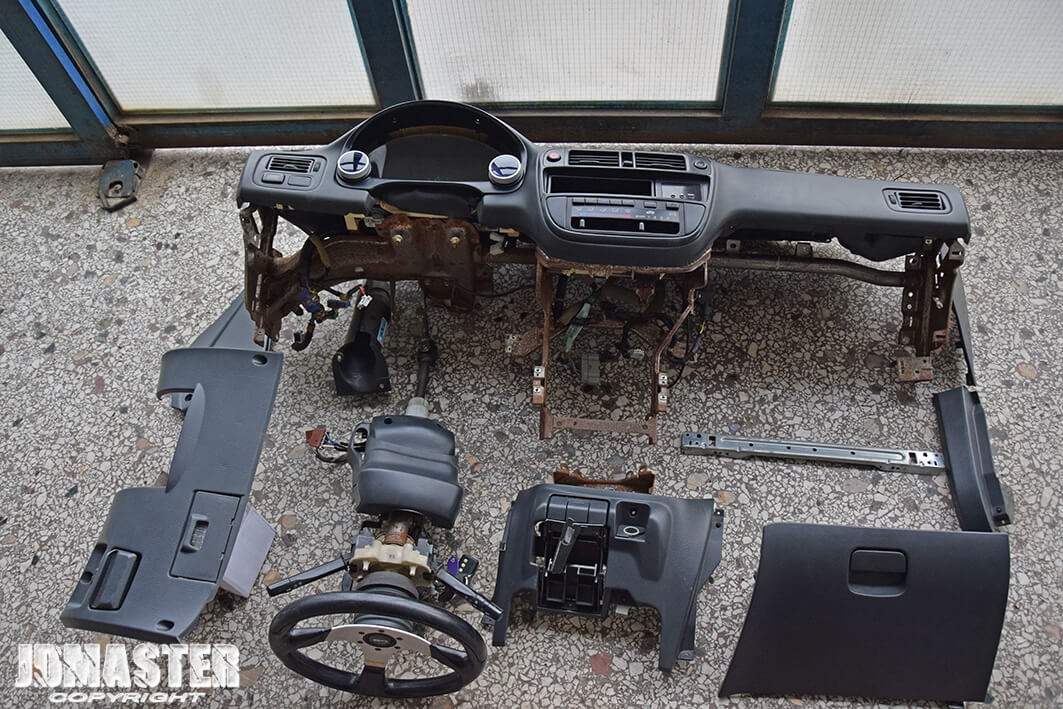


In the meanwhile , Vassilis was taking a quick consideration of how the driving spot would be once all done. A bit higher by the way…
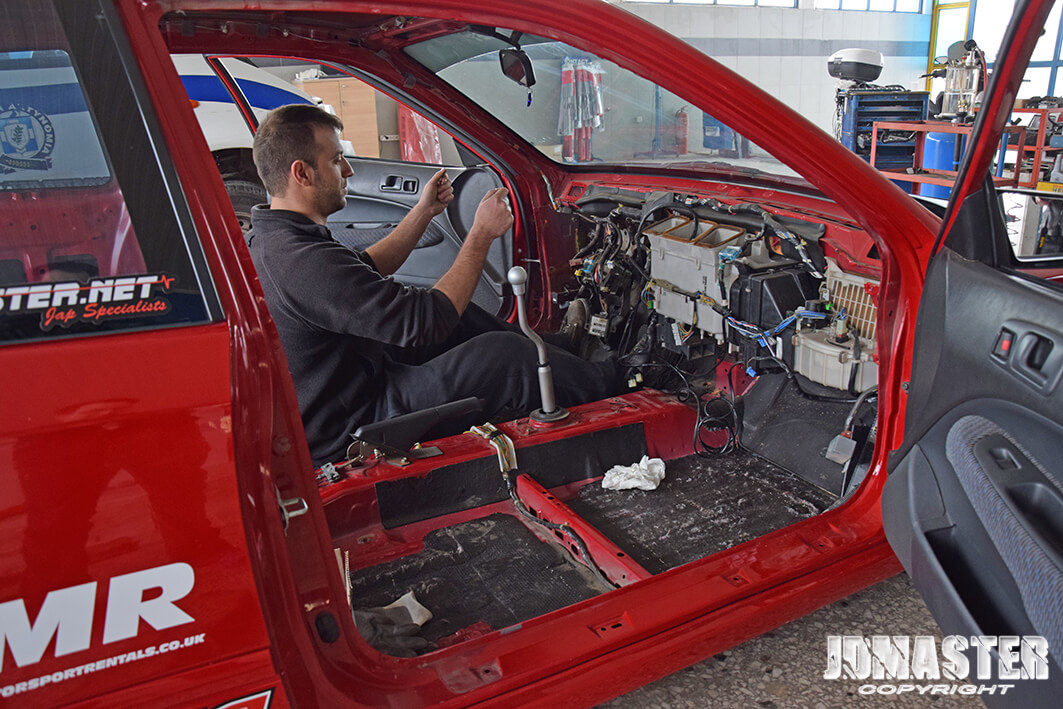
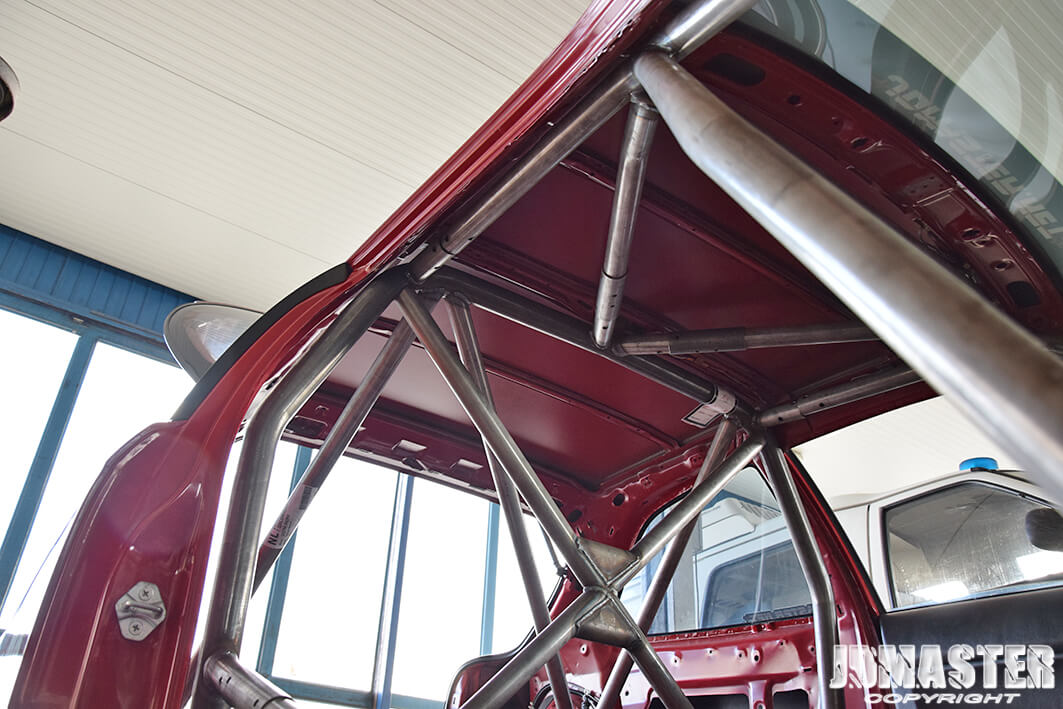
As long as the roll cage was standing aside , it’s was time to do the first of many mockup installations.


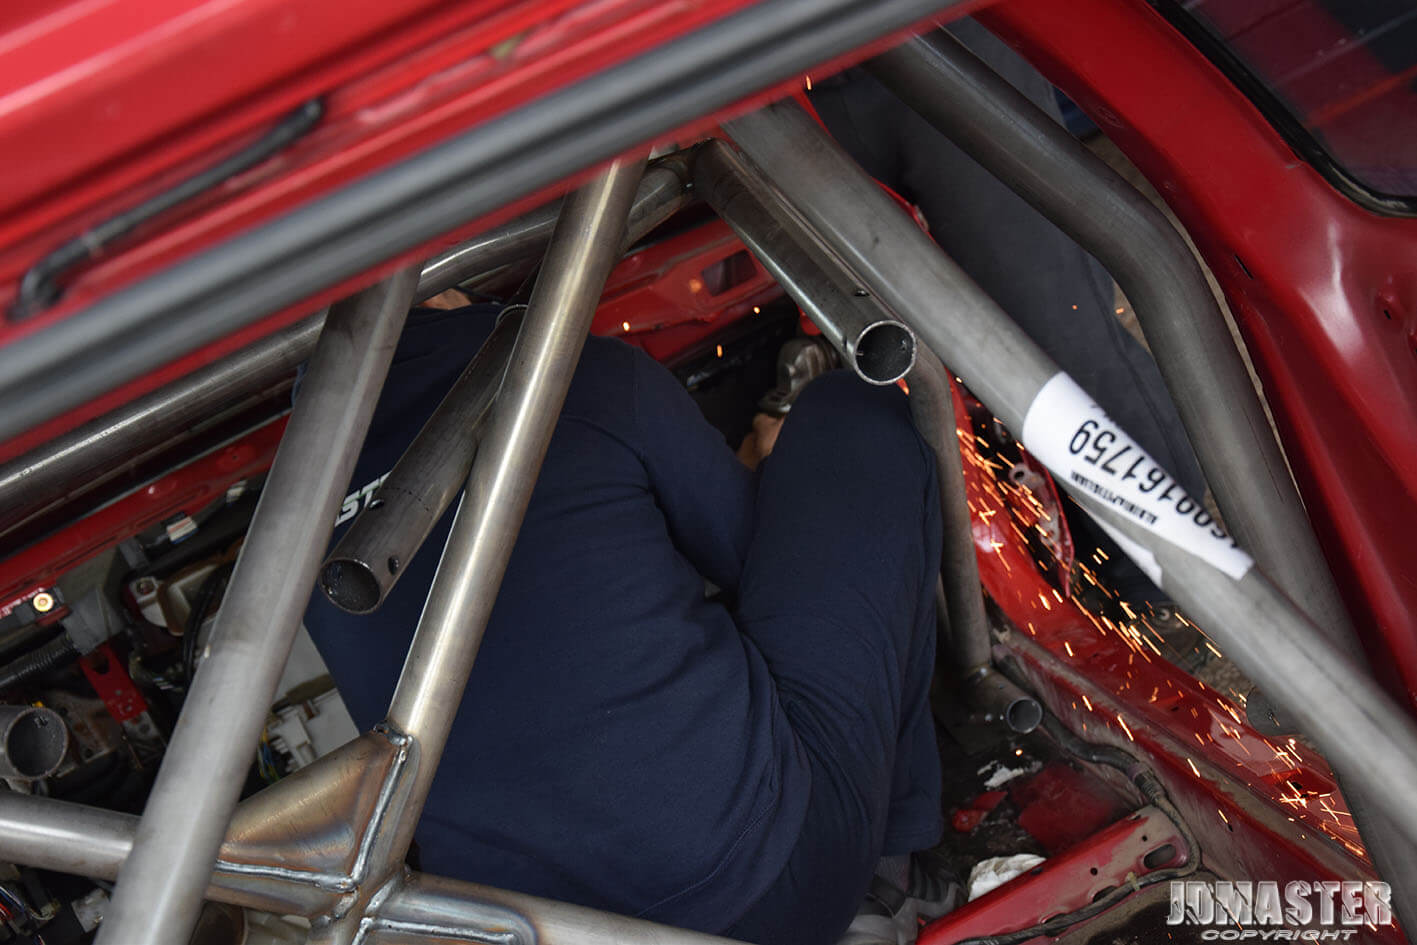
Then the mother of all race car steps was to follow, the sound deadening removal with the weapon of choice to be dry ice. Process looks pretty much like every youtube video and we confirm that it works great.


Once all sound deadening removed, a quick reinstall of the cage to test fit it once more. The test fitting was done probably 8-9 times. After that it became easier and almost bolt in by it self.

After hours and hours of fiddling and tinkering we finalized the roll cage position and did the required dashboard modification to fit trouble free. The plan of the dash flocking proved to be the most painfull process of the build.

Roll cage mounting plates and seat belt mounts welded in and the car trailored to the paint booth for a full interior paint job, while the roll cage went for a trip to the powder coater’s aiming for a durable matte black finish. Interior was never that red before and matte black looks and fits nicely inside.
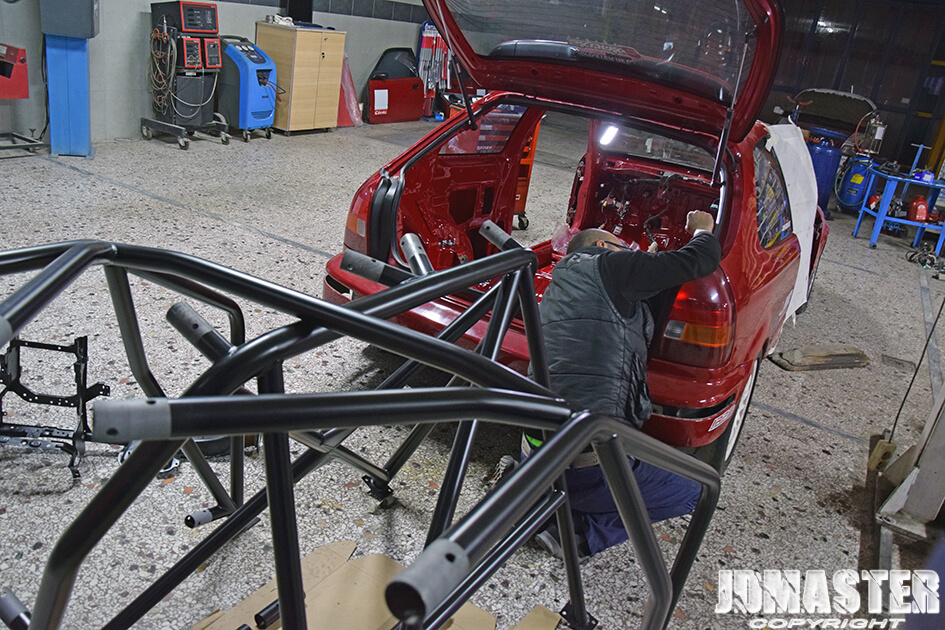

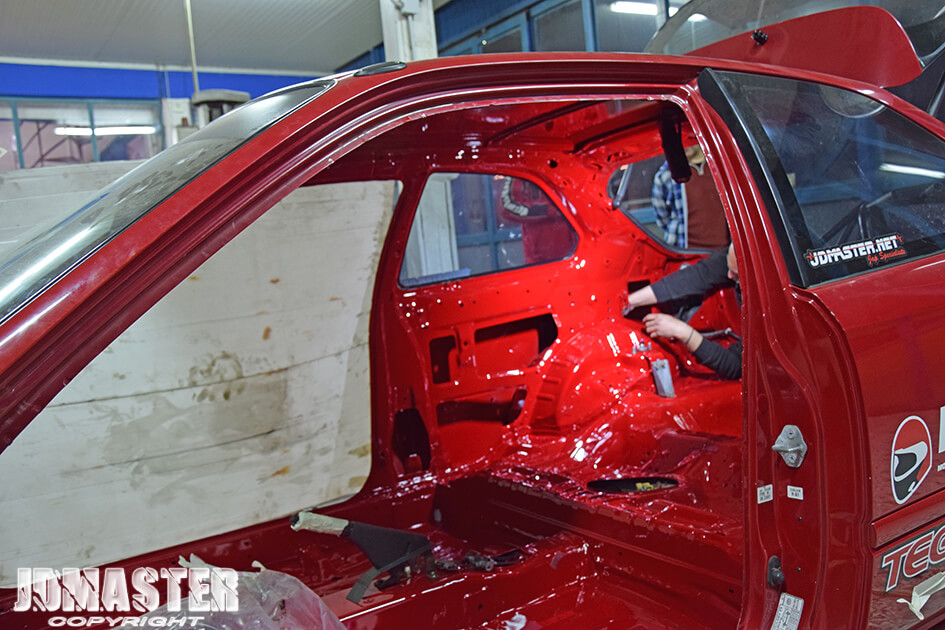
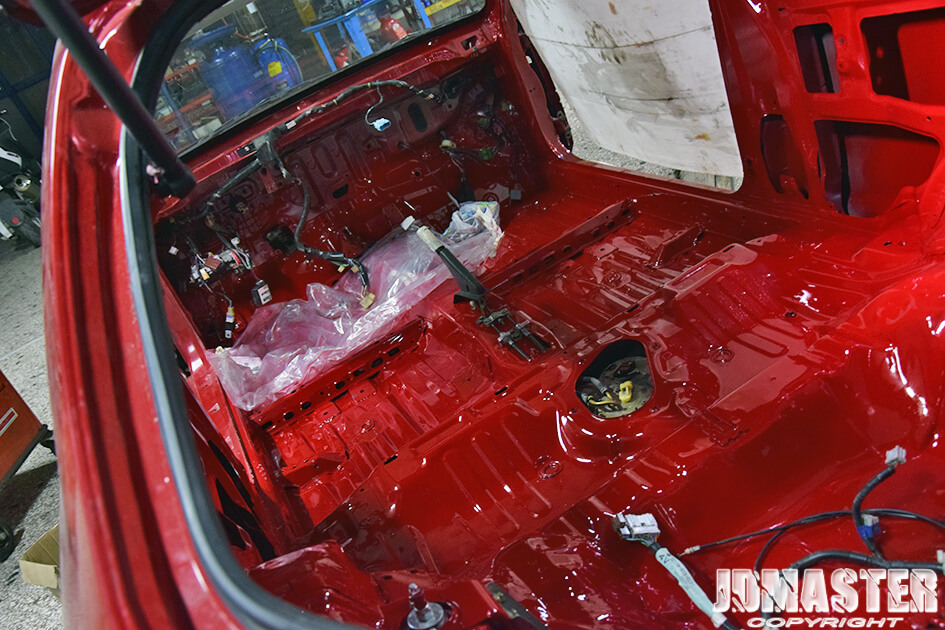
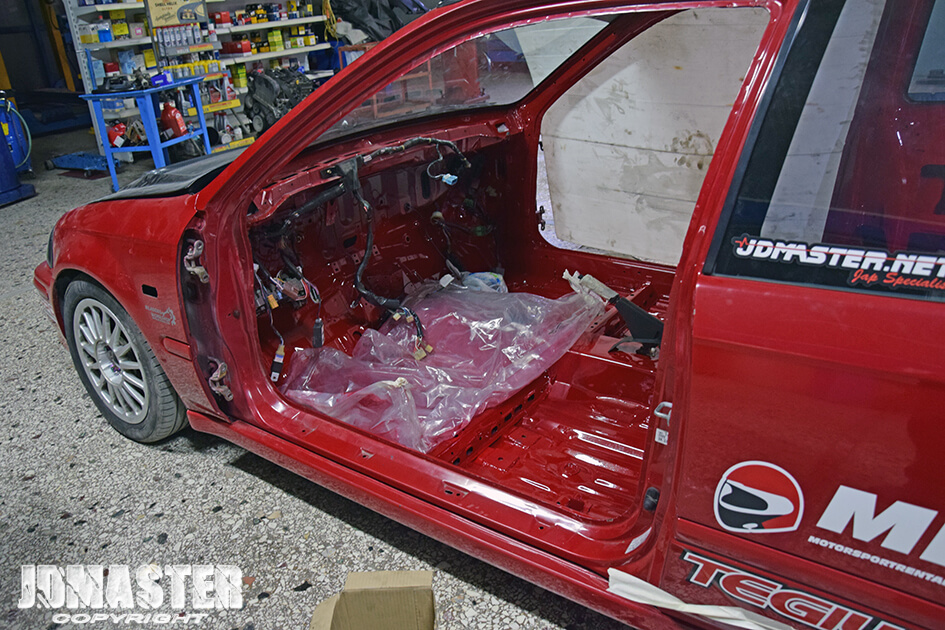
While removing a lot of the interior parts, we did a complete removal of the heater unit because it was going to be replaced by a race unit to do some sort of heating once needed and reduce the overall weight of oem stuff. Heater unit is needed to ventilate the windscreen and the driver.
So the race unit came in, combined of the necessery duct pipes. Torco MTF fluids for our tranny needs. #becausemetalplatelsd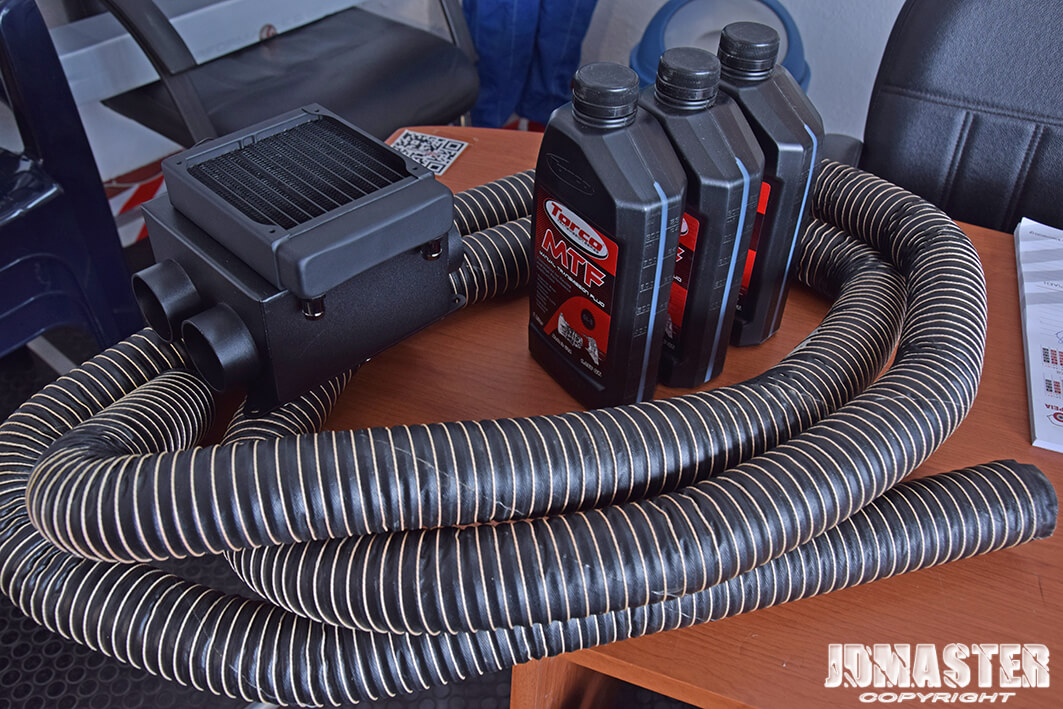
We where always passionate to provide quality work and do our kind of custom work with style while keeping function and form. So the plan was to do a proper fitting of the heater unit and the piping , rewire some of the wiring underdash and finally modify the dash, do some custom block off plates and at the end finish off with the dash flocking process. Never do a flocking work without a proper applicator. No need to say more. At least we tried and the outcome was much better than the mess up of the beggining.


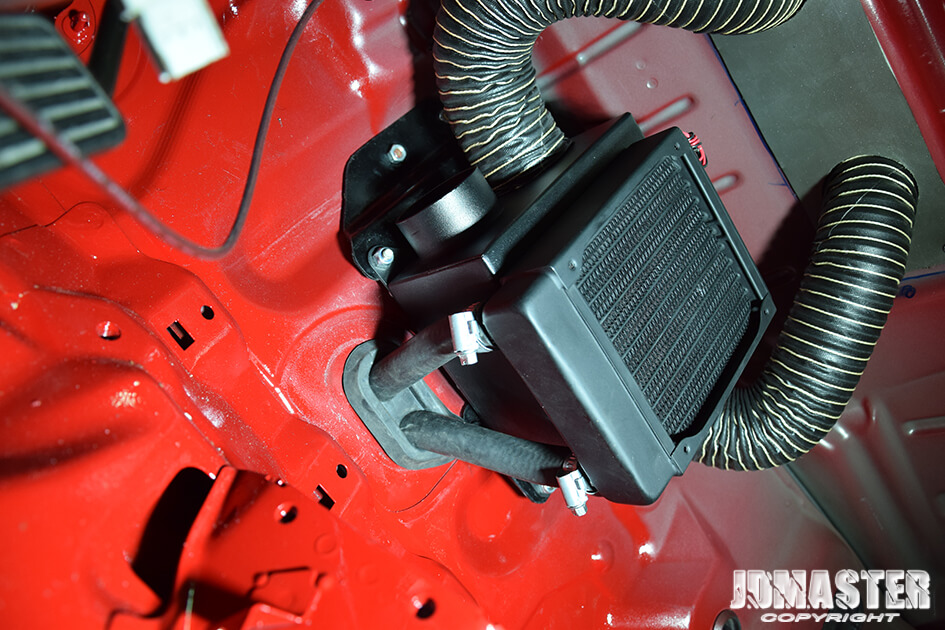
So , the time to put them all in place had come. Dash, cage, seat, steering and all the rest. Racing view mode on!


A quick check up on the weight scale was the next step. The weight saving from the replacement of interior parts had to sum up with the addittion of the roll cage unit. Can we hit the below 1000kg mark?? Fingers crossed…

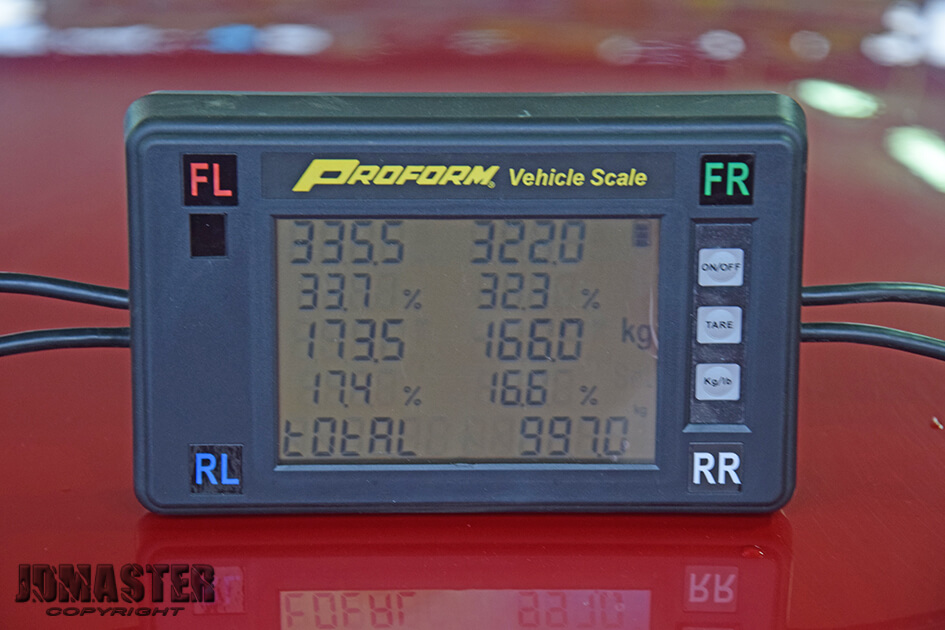
997KG in total is more than impressive. Keep in mind that there is no metal cutted or any other modification on the chassis and some fuel in the tank.
Now that everything gone well, it was time get prepared for the first track attempt for 2017!
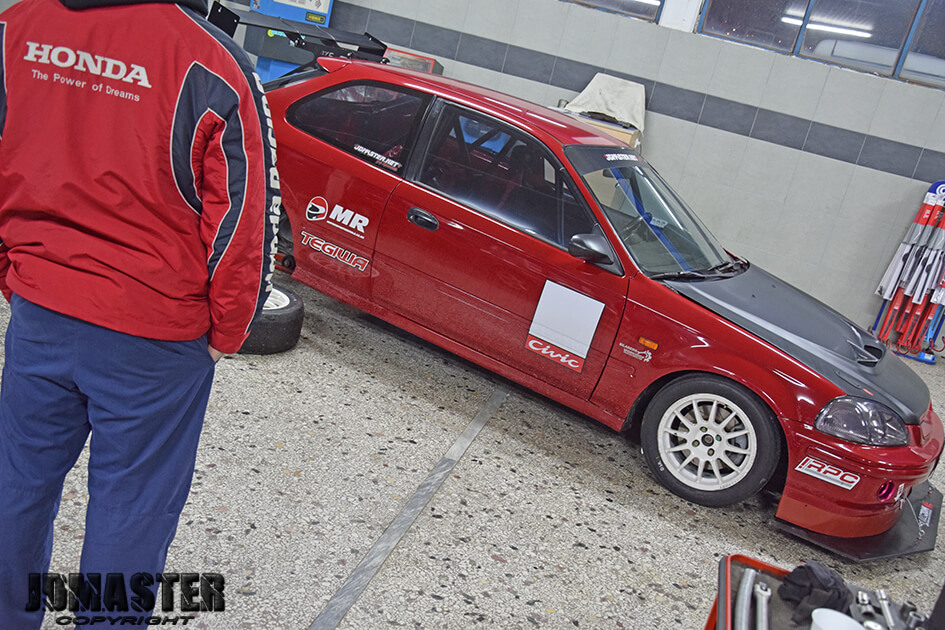


If you think that this track spec civic build is going to end sometime soon… just don’t! Let me give you a quick write up of what’s new to see on our next blog. Wide 17″ wheels with slicks, rolled fenders, full suspension and steering geometry change with lots of motorsport tips and fittings!! Stand by, shots fired!
